My first time tasting Korean fried chicken was when my daughter, Kiley told me that she wanted us to try them. She and my daughter, Kyla showed me videos of the music group, BTS eating fried chicken. I didn’t know of any restaurants near us that sold them, so I did my research. Every picture I saw was appetizing. I knew I wanted to make the most amazing Korean fried chicken I possibly could. I knew I wanted the chicken to be crunchy. Crunchy enough to still have a crunch after being sauced, however, not the level of crunch that would take away from the flavor of the chicken and the sauce. I knew that I would include cornstarch in the flour mixture to achieve that goal.
I knew I wanted the sauce to have some spice level and some sweetness to it. As with any of the recipes I develop, I wanted each ingredient to complement the other. Sometimes though, it’s okay for an ingredient to be the star of the show as long as it’s still working along with the other ingredients. In this recipe, that would be the sauce. The sauce is sticky and sweet with just enough heat. I seasoned the chicken so that they have flavor, however, I made sure to not use too many spices so the chicken wouldn’t have to compete with the sauce. I wanted flavorful chicken, a crispy crust that’s light, but firm enough to stand the sauce. And, I knew I wanted an amazing sauce that would be finger-licking good.
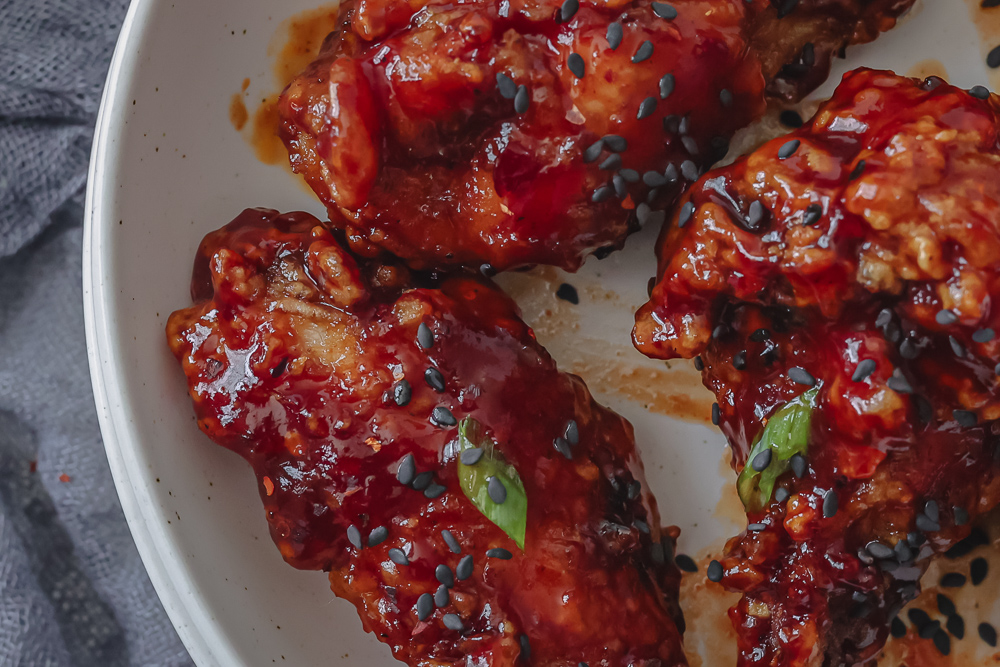
That’s what you can expect when you eat these Korean fried chicken wings.
Pat the chicken dry. This will help with the crispiness of the crust.
Season the chicken wings. Set aside to start working on the seasoned flour.
SEASONED FLOUR
Combine all of the ingredients together and whisk to make sure every ingredient is evenly distributed.
Coat the chicken wings well in the flour. Shake off the excess flour and lay on a cooling rack for about 15-20 minutes to give the flour time to stick to the chicken.
SAUCE
For this step, it would be nice for you to put into practice what's called a mis en place. It's a term chefs use to describe having all of their ingredients already set out and properly measured before they begin cooking. Having all of your ingredients measured for this sauce is great because you don't have to stop to measure while trying to bring this delicious sauce together.
Now, add all of the ingredients together in a saucepan over low to medium heat.
After adding in the cornstarch slurry, allow the sauce to simmer or cook on low heat to thicken for about 15 minutes.
FURTHER INSTRUCTIONS
Heat the oil on medium to high heat. If you have a thermometer, heat the oil to about 350 degrees Fahrenheit. When the oil has reached the right temperature, carefully fry the chicken wings in batches. Be careful not to overcrowd the fryer. If too many chicken wings are in the fryer, they will lower the temperature of the oil. The result will be soggy, greasy chicken. Also, be careful to not have the oil too hot. If the oil is too hot, the crust burns before the inside of the chicken is fully cooked.
Fry chicken for 10-12 minutes, or until golden brown and the juices are running clear.